Wash every separate part
Remove the lid, seal and any removable insert before washing a reusable jar. Follow the maker’s guidance for the material, especially when a lid contains several pieces or should not go in a dishwasher.
Use suitable dish soap, clean water and a brush or cloth that reaches the threads and base. Rinse away residue without using an abrasive tool that could scratch glass or damage a coating.
Inspect for cracks, chips, rust, warped lids or seals that no longer sit properly. Retire damaged food-storage pieces according to local guidance rather than treating every jar as permanently reusable.
Give water a clear way out
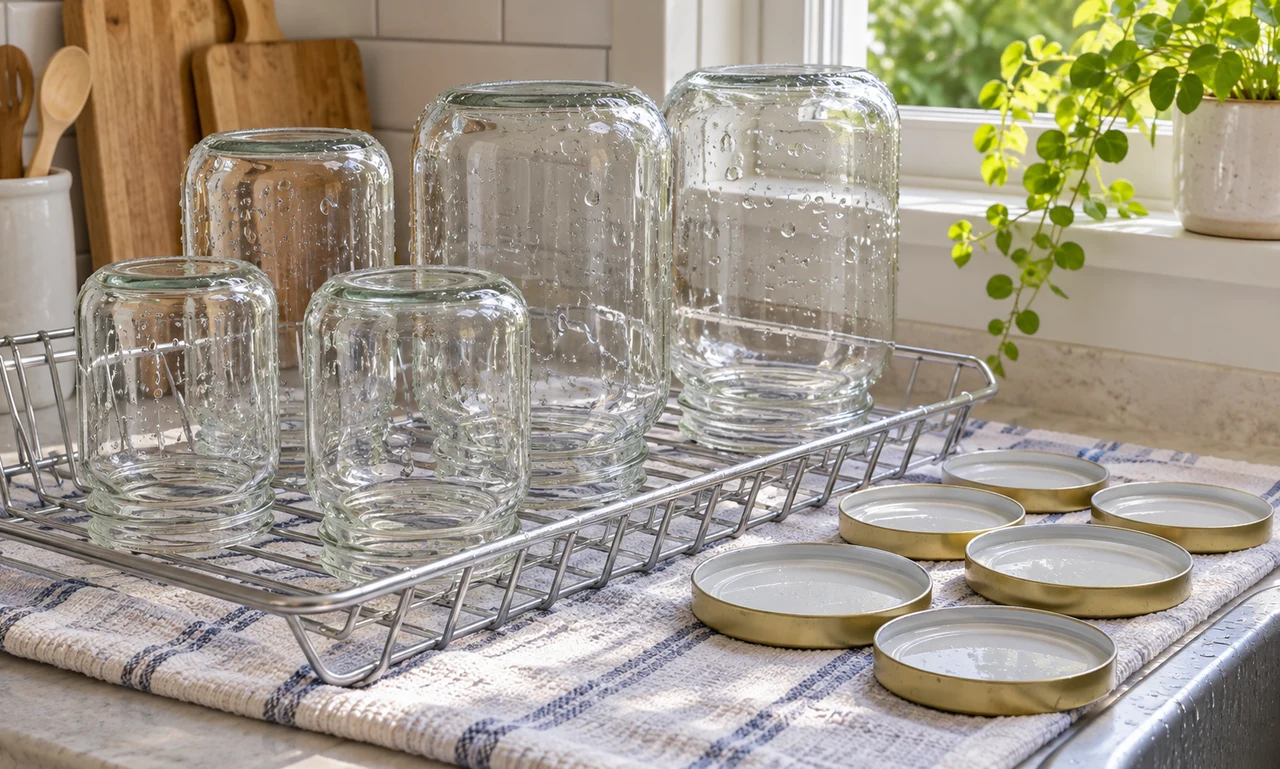
Place jars upside down or at an angle on a clean rack where air can reach the opening. Set lids and seals separately with their inner surfaces exposed.
Do not stack wet jars or close them while droplets remain. A towel can protect the counter, but a jar pressed flat against damp fabric may dry more slowly than one supported on a ventilated rack.
Keep the drying area away from raw-food preparation, cleaning chemicals and places where a jar can be knocked to the floor. Heavy glass should rest securely rather than balance on a narrow edge.
Reassemble only when dry
Check the base, threads, lid rim and seal before putting the pieces together. If moisture remains, return the part to the rack instead of wiping it with a towel that may leave lint or contamination.
Store empty jars with lids loose or separate when that suits the design and storage space. Follow safe food-preservation instructions for any later canning or sealing task; ordinary washed jars are not automatically ready for every preservation method.
The cycle stays simple: empty, wash, inspect, dry and store. Letting air finish the job helps an existing container return to use without trapping the last of the wash water inside.
About this article
An original everyday guide from Everyday News. It offers practical ideas and perspective rather than firsthand reporting.

